らあめん花月嵐の没メニュー【BLACK✕BLACK】販売期間と味や口コミを調査【ダレトク】
2019年1月29日(火)の『有吉弘行のダレトク!?』の没メニューはらあめん花月嵐が登場。没メニューで復活したのはBLACK✕BLACKでした。メニューがいつから販売開始で食べられるのか、販売期間とお…
2019年1月29日(火)の『有吉弘行のダレトク!?』の没メニューはらあめん花月嵐が登場。没メニューで復活したのはBLACK✕BLACKでした。メニューがいつから販売開始で食べられるのか、販売期間とお…
2019年1月22日(火)の『有吉弘行のダレトク!?』の没メニューはカプリチョーザが登場。 没メニューで復活したのはオムレツカルボナーラでした。 メニューがいつから販売開始で食べられるのか、販売期間と…
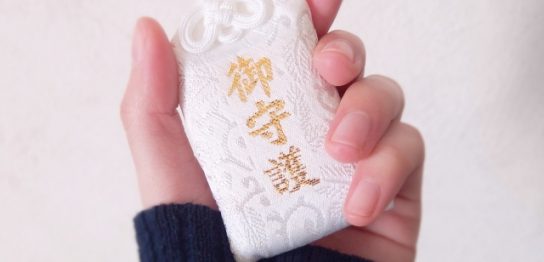
神社やお寺で頂いたお守り。返納したり処分する方法は本来は決まっています。しかし、遠方のお寺や神社に返納に行けない場合に、自宅でも処分できるのかなど気になりますよね。粗末に扱うのも気が引けるけれど、正式…
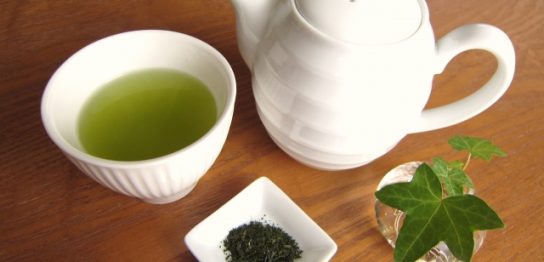
緑茶コーヒーダイエットについてご紹介します。 医学的根拠のもと、リバウンドのしない体質作りを推奨し治療をするダイエット外来。 そこで働く医師「工藤孝文」氏が考案した新しいダイエット方法です。 もくじ1…
12月14日放送のアナザースカイでは、『福田雄一がハワイへ!賀来賢人&太賀も登場』の回です。番組内容と動画や見逃し配信についてまとめています。 毎回ゲストが、思い出の海外に旅をして、「第二の故…
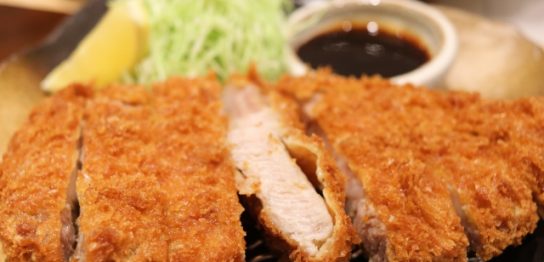
2018年12月11日(火)の『有吉弘行のダレトク!?』の没メニューはカツ丼のかつやが登場。没メニューで復活したのは生姜焼きとん汁カツ定食でした。メニューがいつから販売開始で食べられるのか、販売期間と…
12月9日放送のおしゃれイズムでは、陣内智則さんの回です。番組内容と動画や見逃し配信についてまとめています。放送後には内容もレポしますよ!
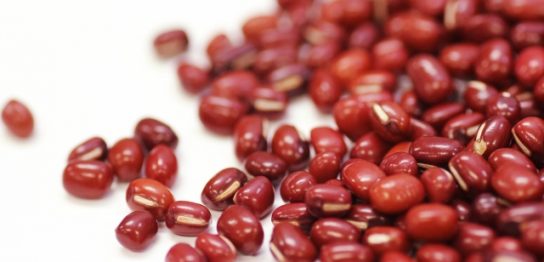
小正月について知りたい方へ!2019年の小正月と、小正月の本来の意味、小豆粥を食べる理由や、各地の風習などをまとめました。これを読めば小正月について詳しくわかりますよ。
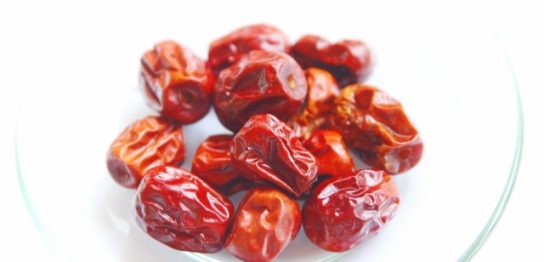
ナツメの美味しい食べ方をご紹介します。栄養成分に優れ、漢方薬膳では効能もあるというナツメ。食べ過ぎによる副作用などもあるのか?も気になりますよね。わかりやすくまとめてみました。